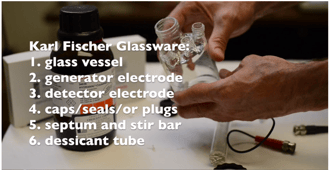
How to Clean Karl Fischer Electrodes:
A Karl Fischer Titrator uses two electrodes. The Inner burette (aka Generator Electrode) and the Detector Electrode. We hope this information is helpful in giving some guidance on cleaing and caring for these Karl Fischer Titrator electrodes.
Twin platinum reference "Karl Fischer Detector Electrode" K103-M713/ K103-M714 or any other model
If the electrode is heavily stained and the potential is unstable and measurement reading fluctuates clean with nitric acid. After cleaning use methanol and wipe off with clean gauze.

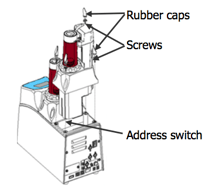
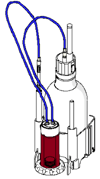
Single or Dual Inner burette K443-0006/ K103-0002 or any other model (aka Generator Electrode)
Periodic cleaning of the inner burette is recommended if the inner burette is stained and the electrolysis reaction will not run smoothly. A faulty Inner Burette may cause a longer length of time in the measuring process with measurement results being recorded at higher than theoretical values.
Cleaning with alcohol: general method
- Turn off all power
- Disconnect the electrodes from their ports.
- Take out both anolyte and catholyte.
- Wipe off grease around sliding area with methanol.
- Rinse the inner burette with methanol, and fill it with approximately 10mL of methanol and then put it in a beaker. Fill the beaker with methanol up to the level of methanol inside the inner burette, and leave it for about 30 minutes.
- After the above 5), dry the inner burette.
Cleaning with nitric acid (boiling): If the color of inner burette or diaphragm does not disappear
When there is a deposition of iodine on the diaphragm or the electrode surface, clean with 1mol nitric acid (boiling):
- Immerse the diaphragm or the electrode surface in nitric acid, and boil with a hot stirrer.
- Drain out the chromate inside the cell, and rinse it with pure water for 2 to 3 times until yellowish color disappears.
- Clean the inner burette with methanol or with alcohol.
- Repeat the above steps several times when dirt does not come off.

Cleaning with chromic acid mixture : When dirt does not come off
If foreign objects are observed on diaphragm and platinum surface, use chromic acid mixture instead of methanol for cleaning.
Chromic acid mixture: 1.5g approx. potassium dichromate dissolved in 100mL of concentrated sulfuric acid

- Follow the same steps as above for methanol.
- Drain out the chromate inside the cell, and rinse it with pure water for 5 to 6 times until yellowish color disappears.
- Clean the inner burette with methanol or with alcohol.

How to dry the inner burette and diaphragm
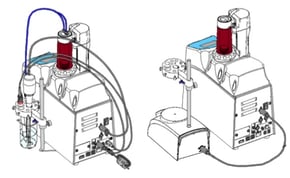
Dry it in a decompression dryer for more than 2 hours. Below sketch shows an example of commercially sold drying under reduced pressure.

NOTE: Dry the inner burette itself only after removed from the titration cell in order to avoid possible breakage of inside ceramic diaphragm.
SUGGESTION: Use a hair dryer if a compression dryer is not available. With a hair dryer, dry the inner burette well enough as long as for more than 10 minutes, especially dry the diaphragm until it is really dried. Any residue of moisture will cause high drift level.
CAUTION: Set the temperature of the constant temperature drying oven at 65°C or below. When drying with a hair dryer, make sure not to overheat its cable and connector. Overheating may result in malfunction.


 >What is the mass of the liquid?,
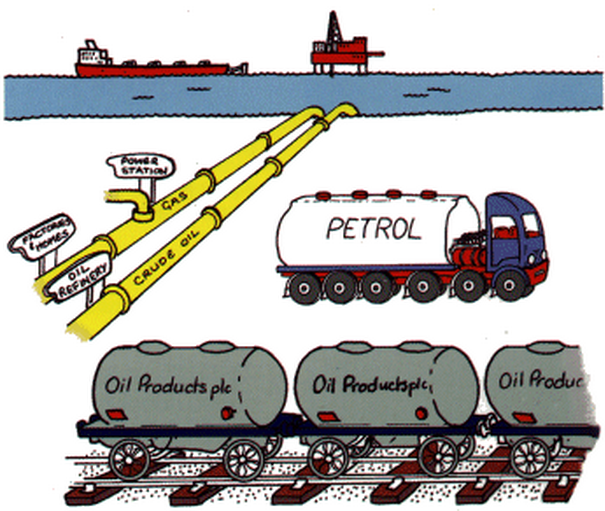
 Petroleum is used mostly by volume for the production of fuel, gasoline and


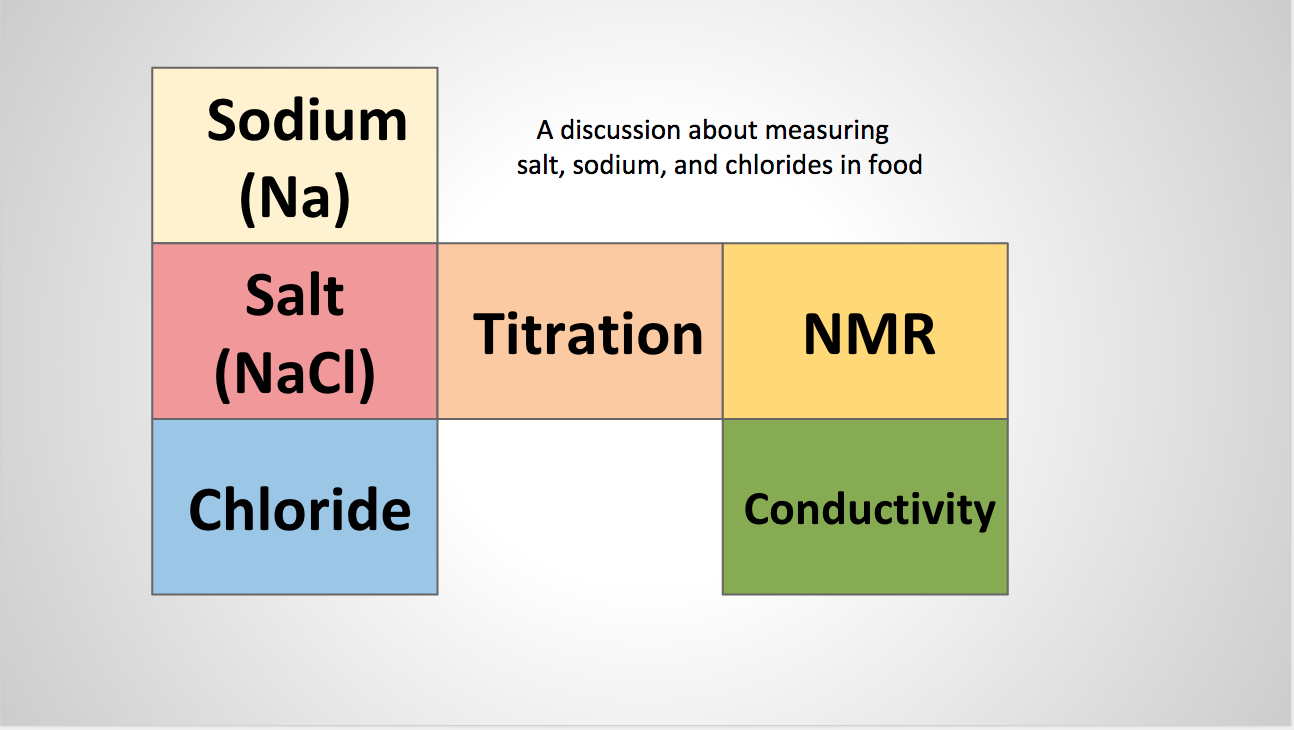

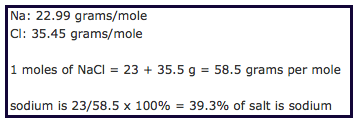
 with the more well known negative effects we associate with sodium (Na) and high blood pressure.